Testing Room Experience
This page outlines the student journey on test day, walking testing staff through what’s in Test Day Toolkit and what students see on their screen in Bluebook™.
1. Arrival
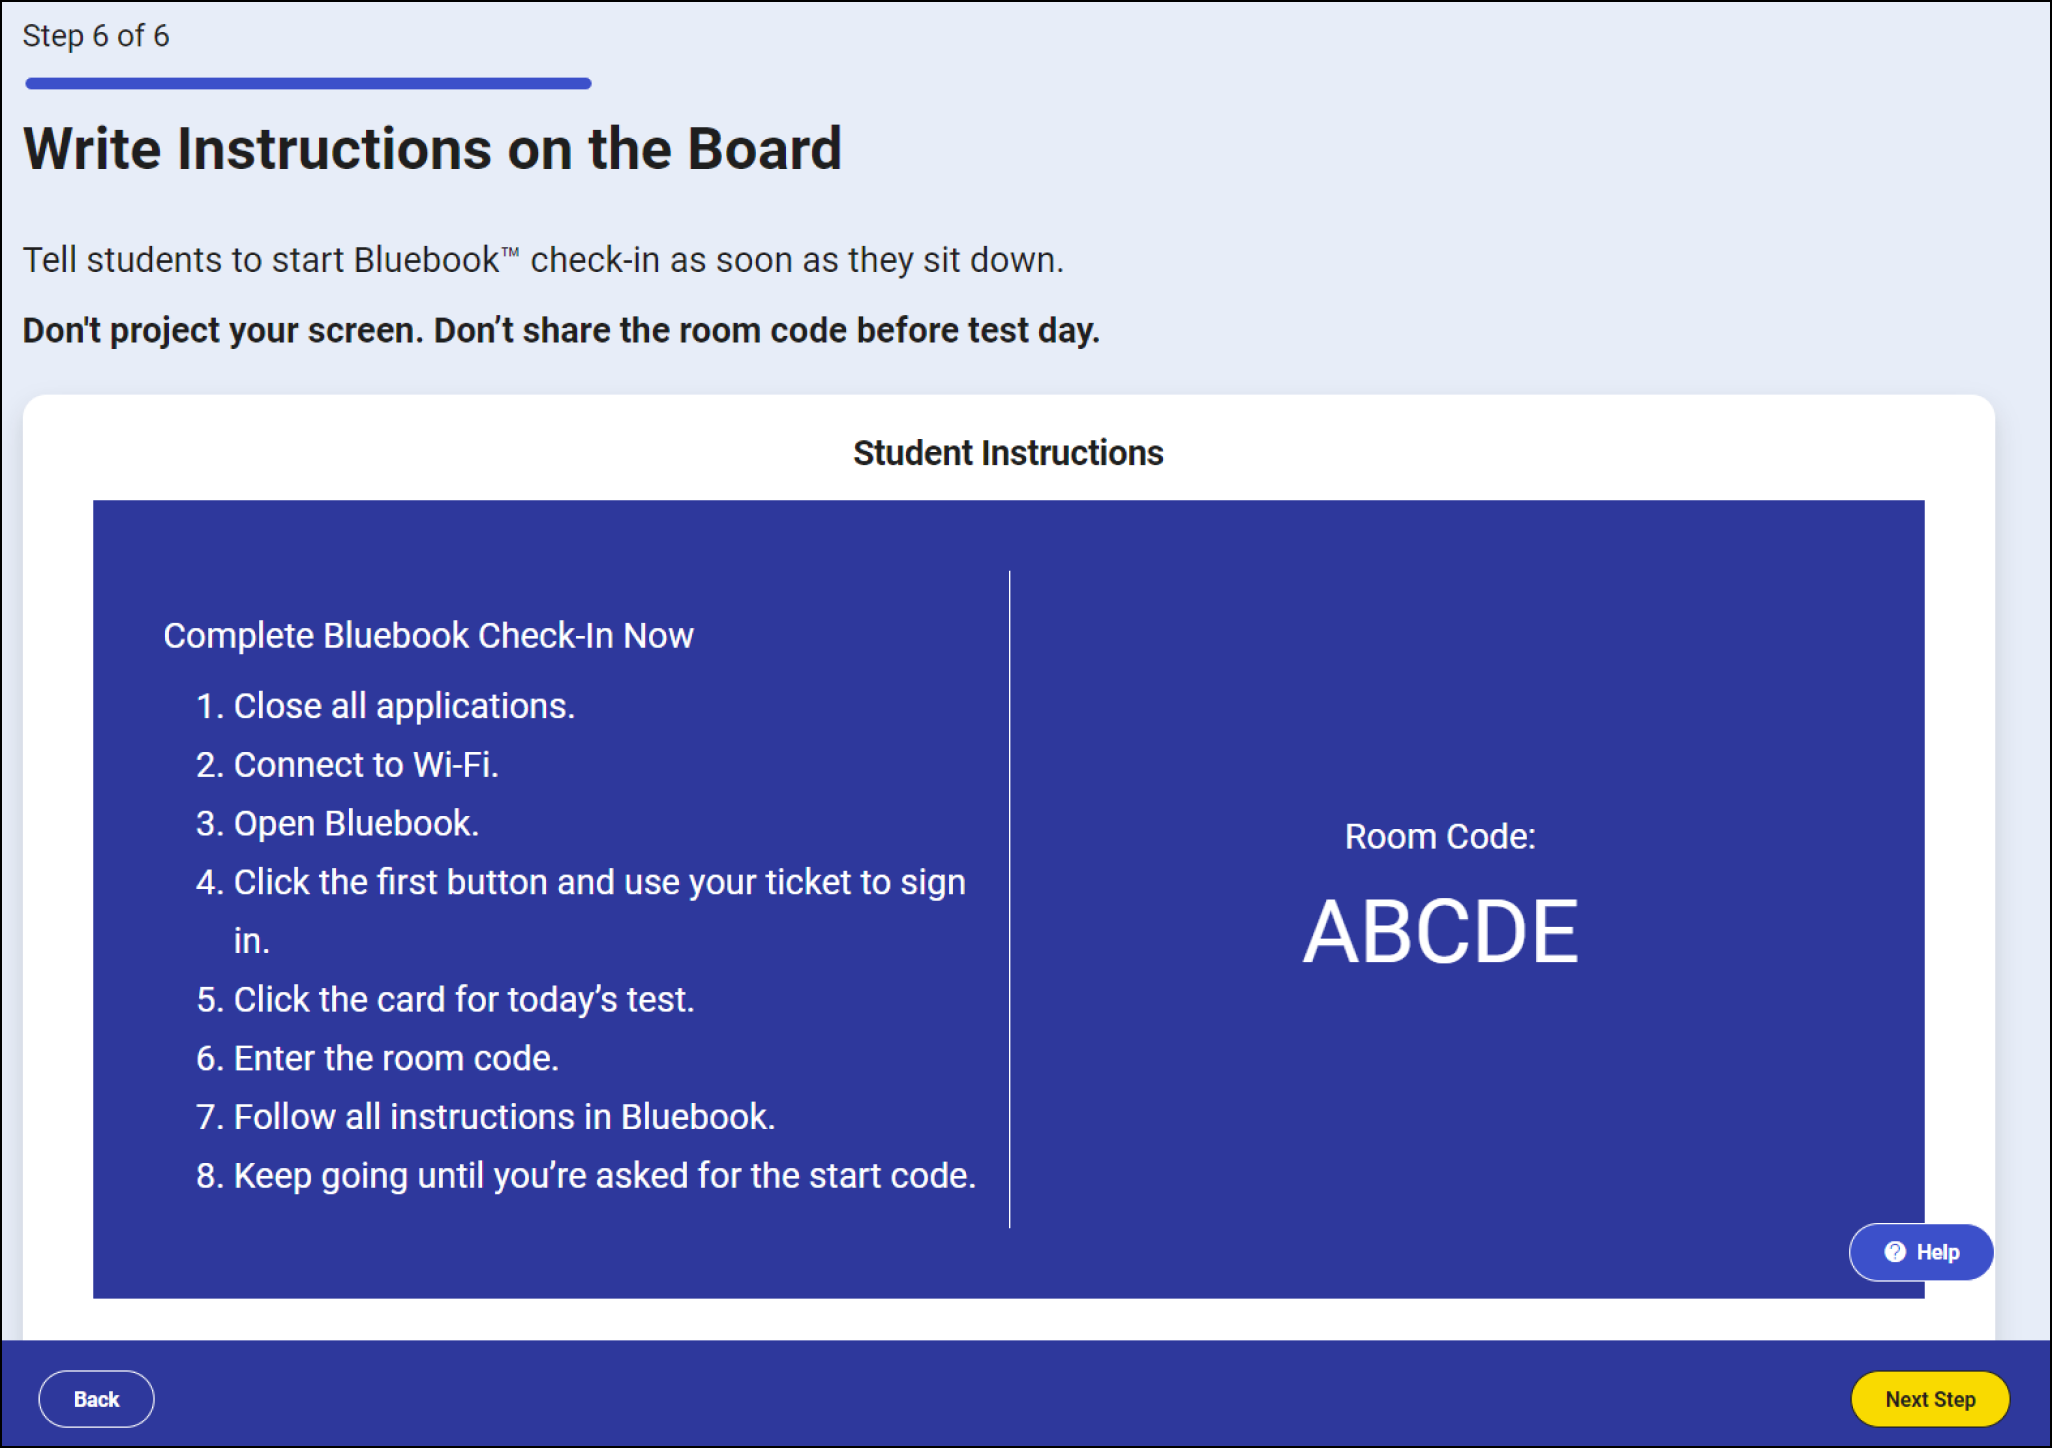
- Proctors sign in to Test Day Toolkit and write the 5-letter room code and instructions on the board.
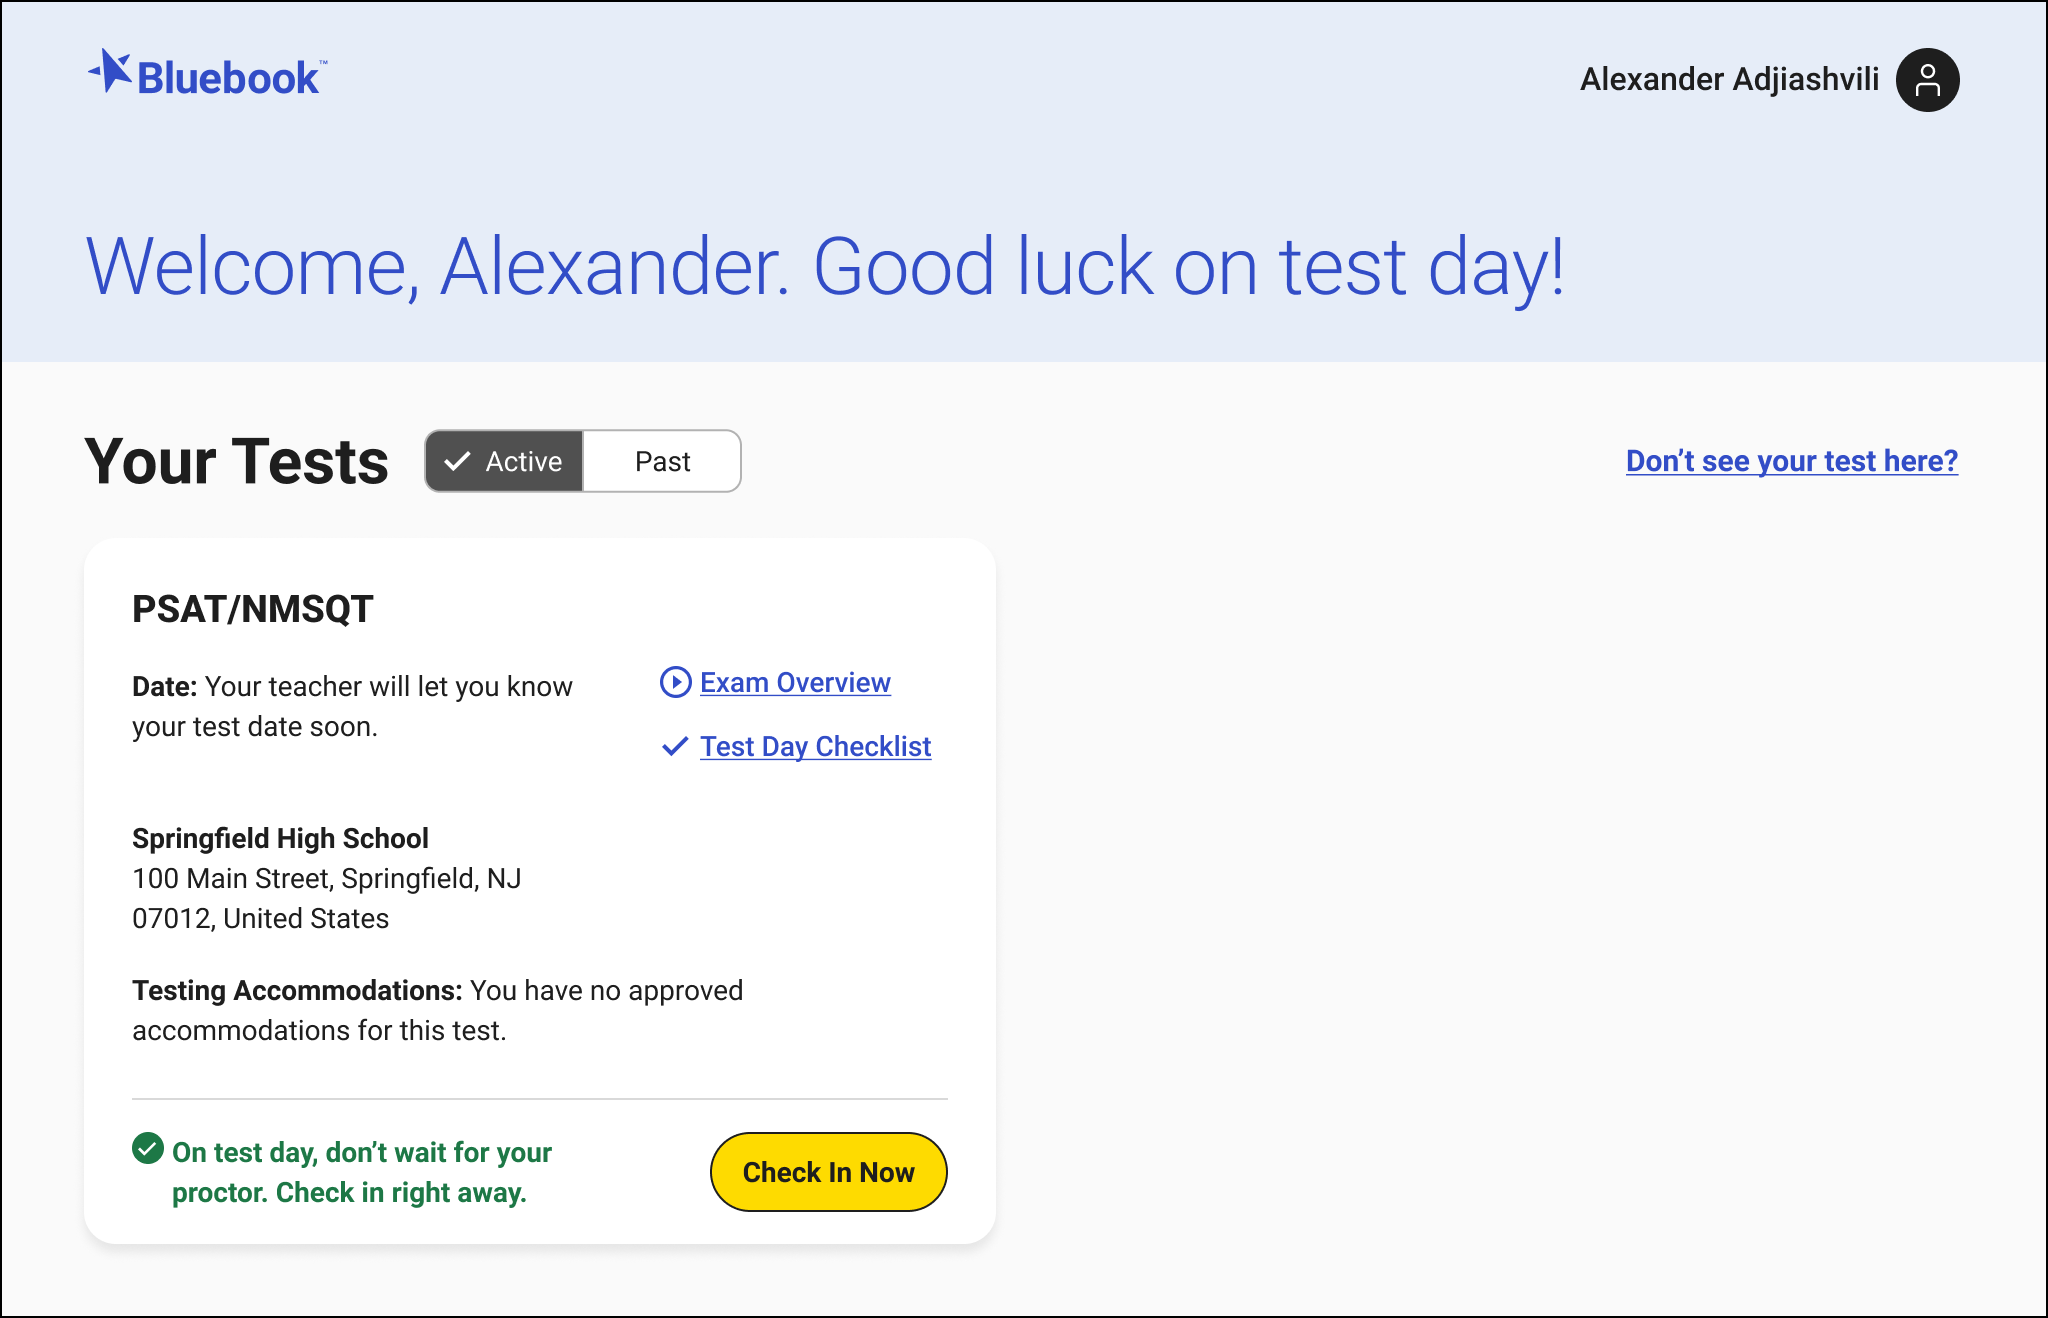
- Students sit in their assigned seats. They sign in to Bluebook on their devices and confirm any accommodations they’ll be testing with, read a few reminders, type a security pledge, and follow instructions for clearing their desks.
2. Attendance
- Proctors go to the Attendance page in Test Day Toolkit.
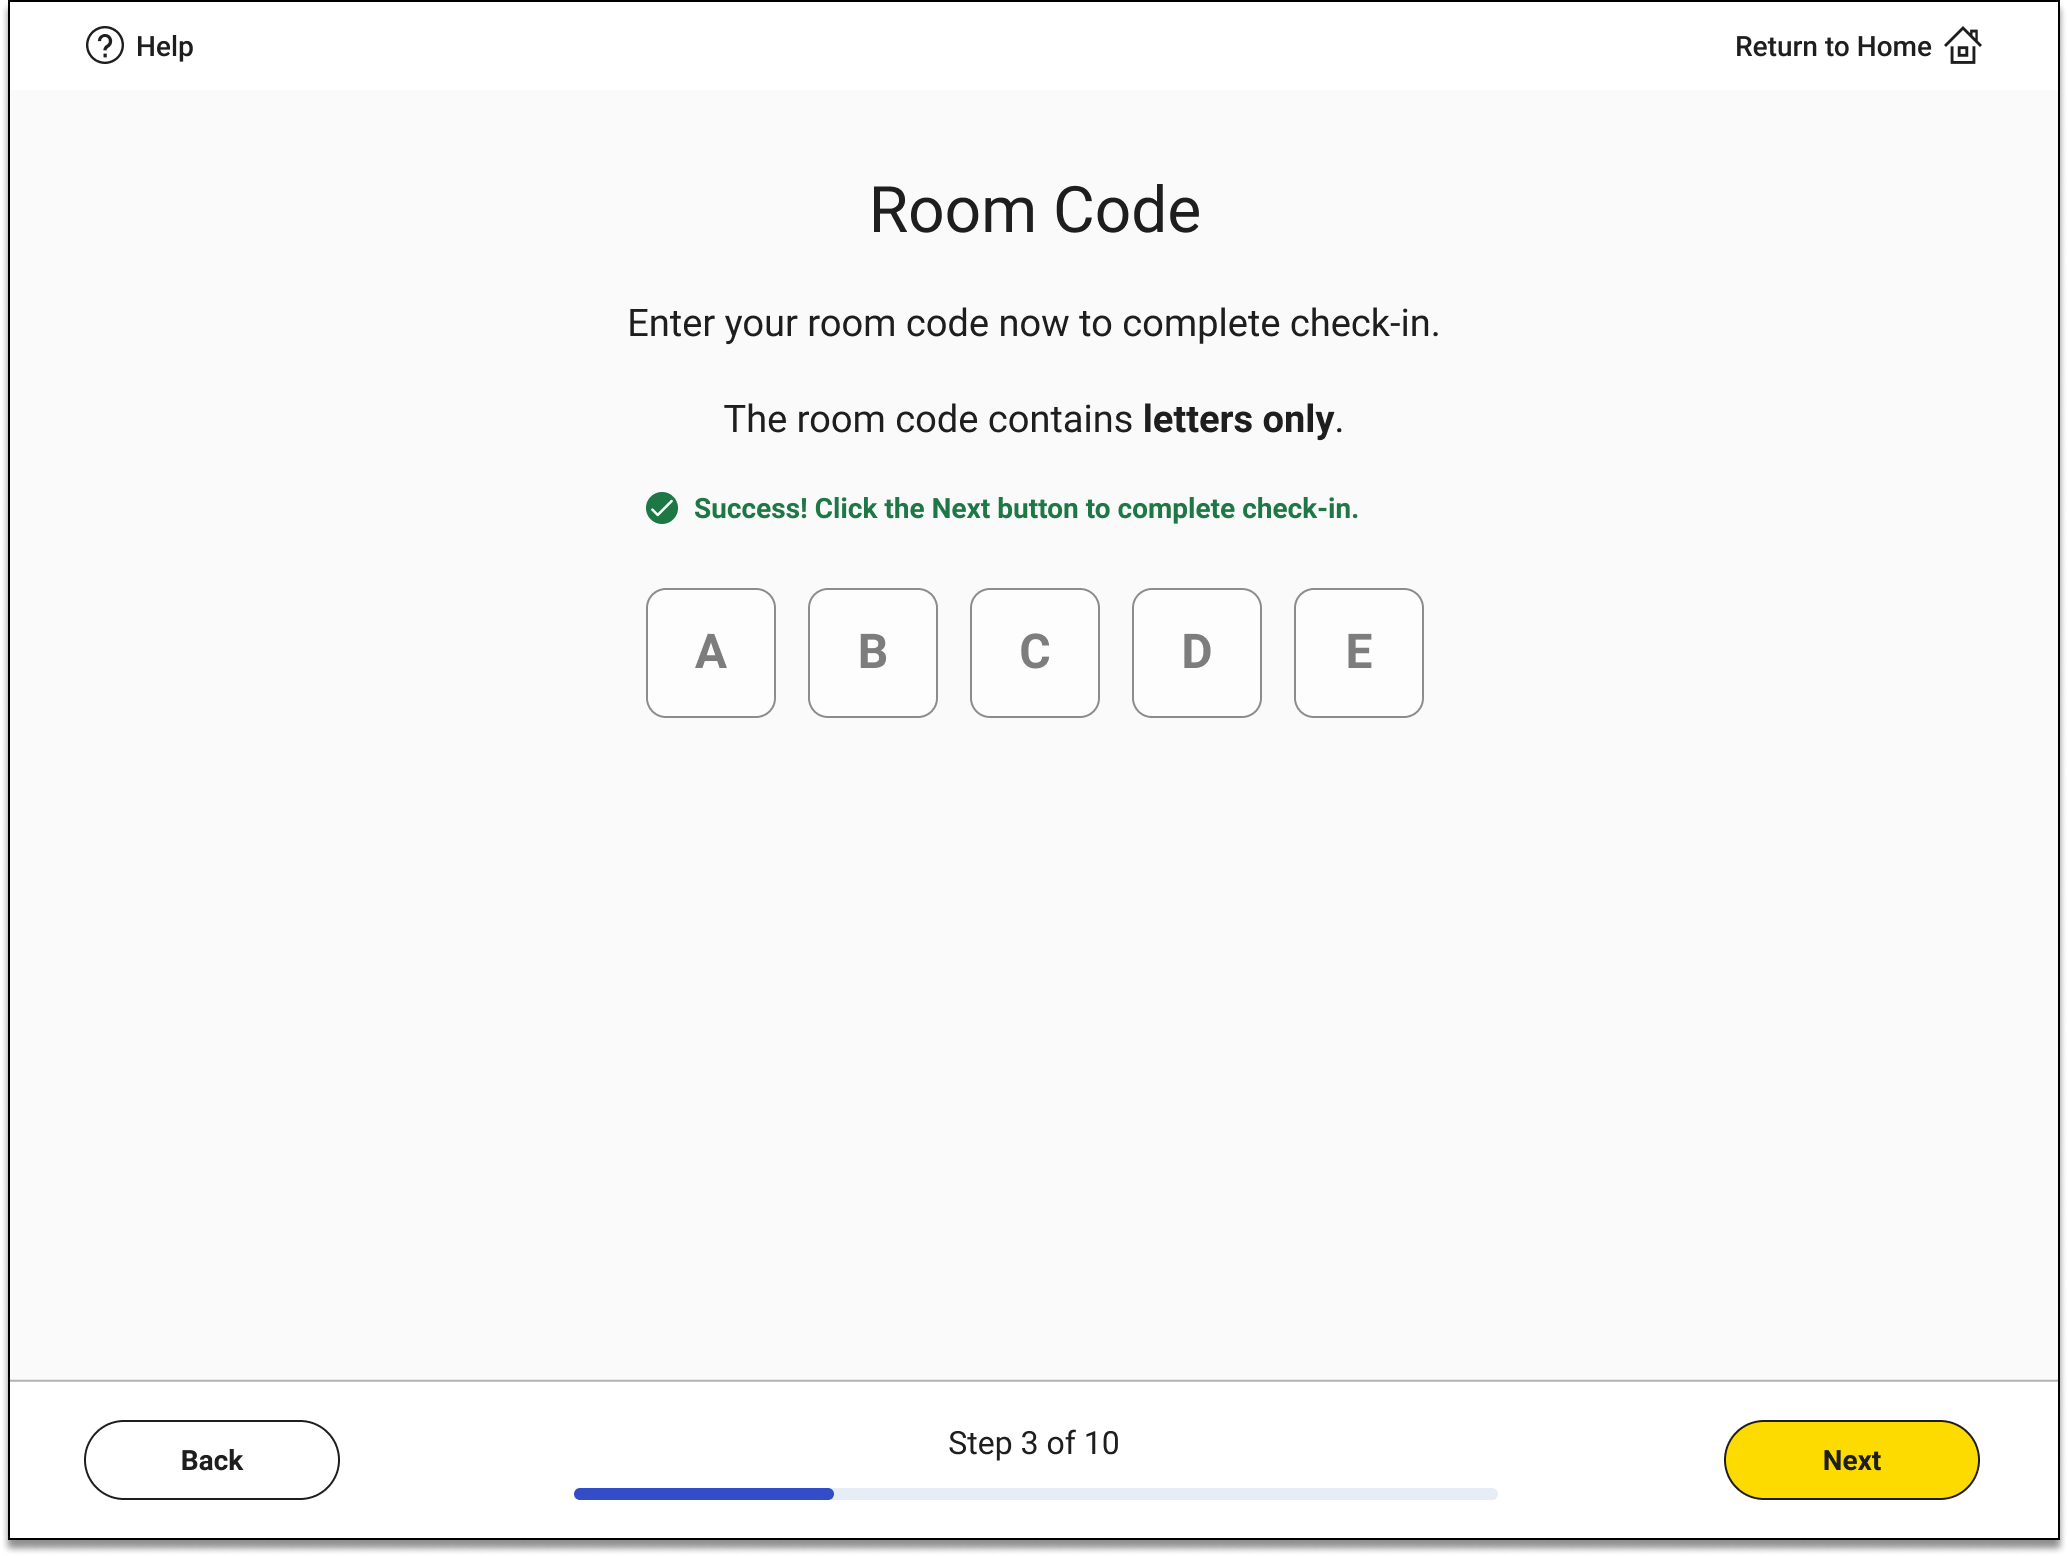
- Students enter the room code and complete check-in.
- Students see Bluebook instructions to clear their desks and write their full name on their sheet of scratch paper.
- Proctors mark students present when their name is listed under Entered Room Code.

3. The Script
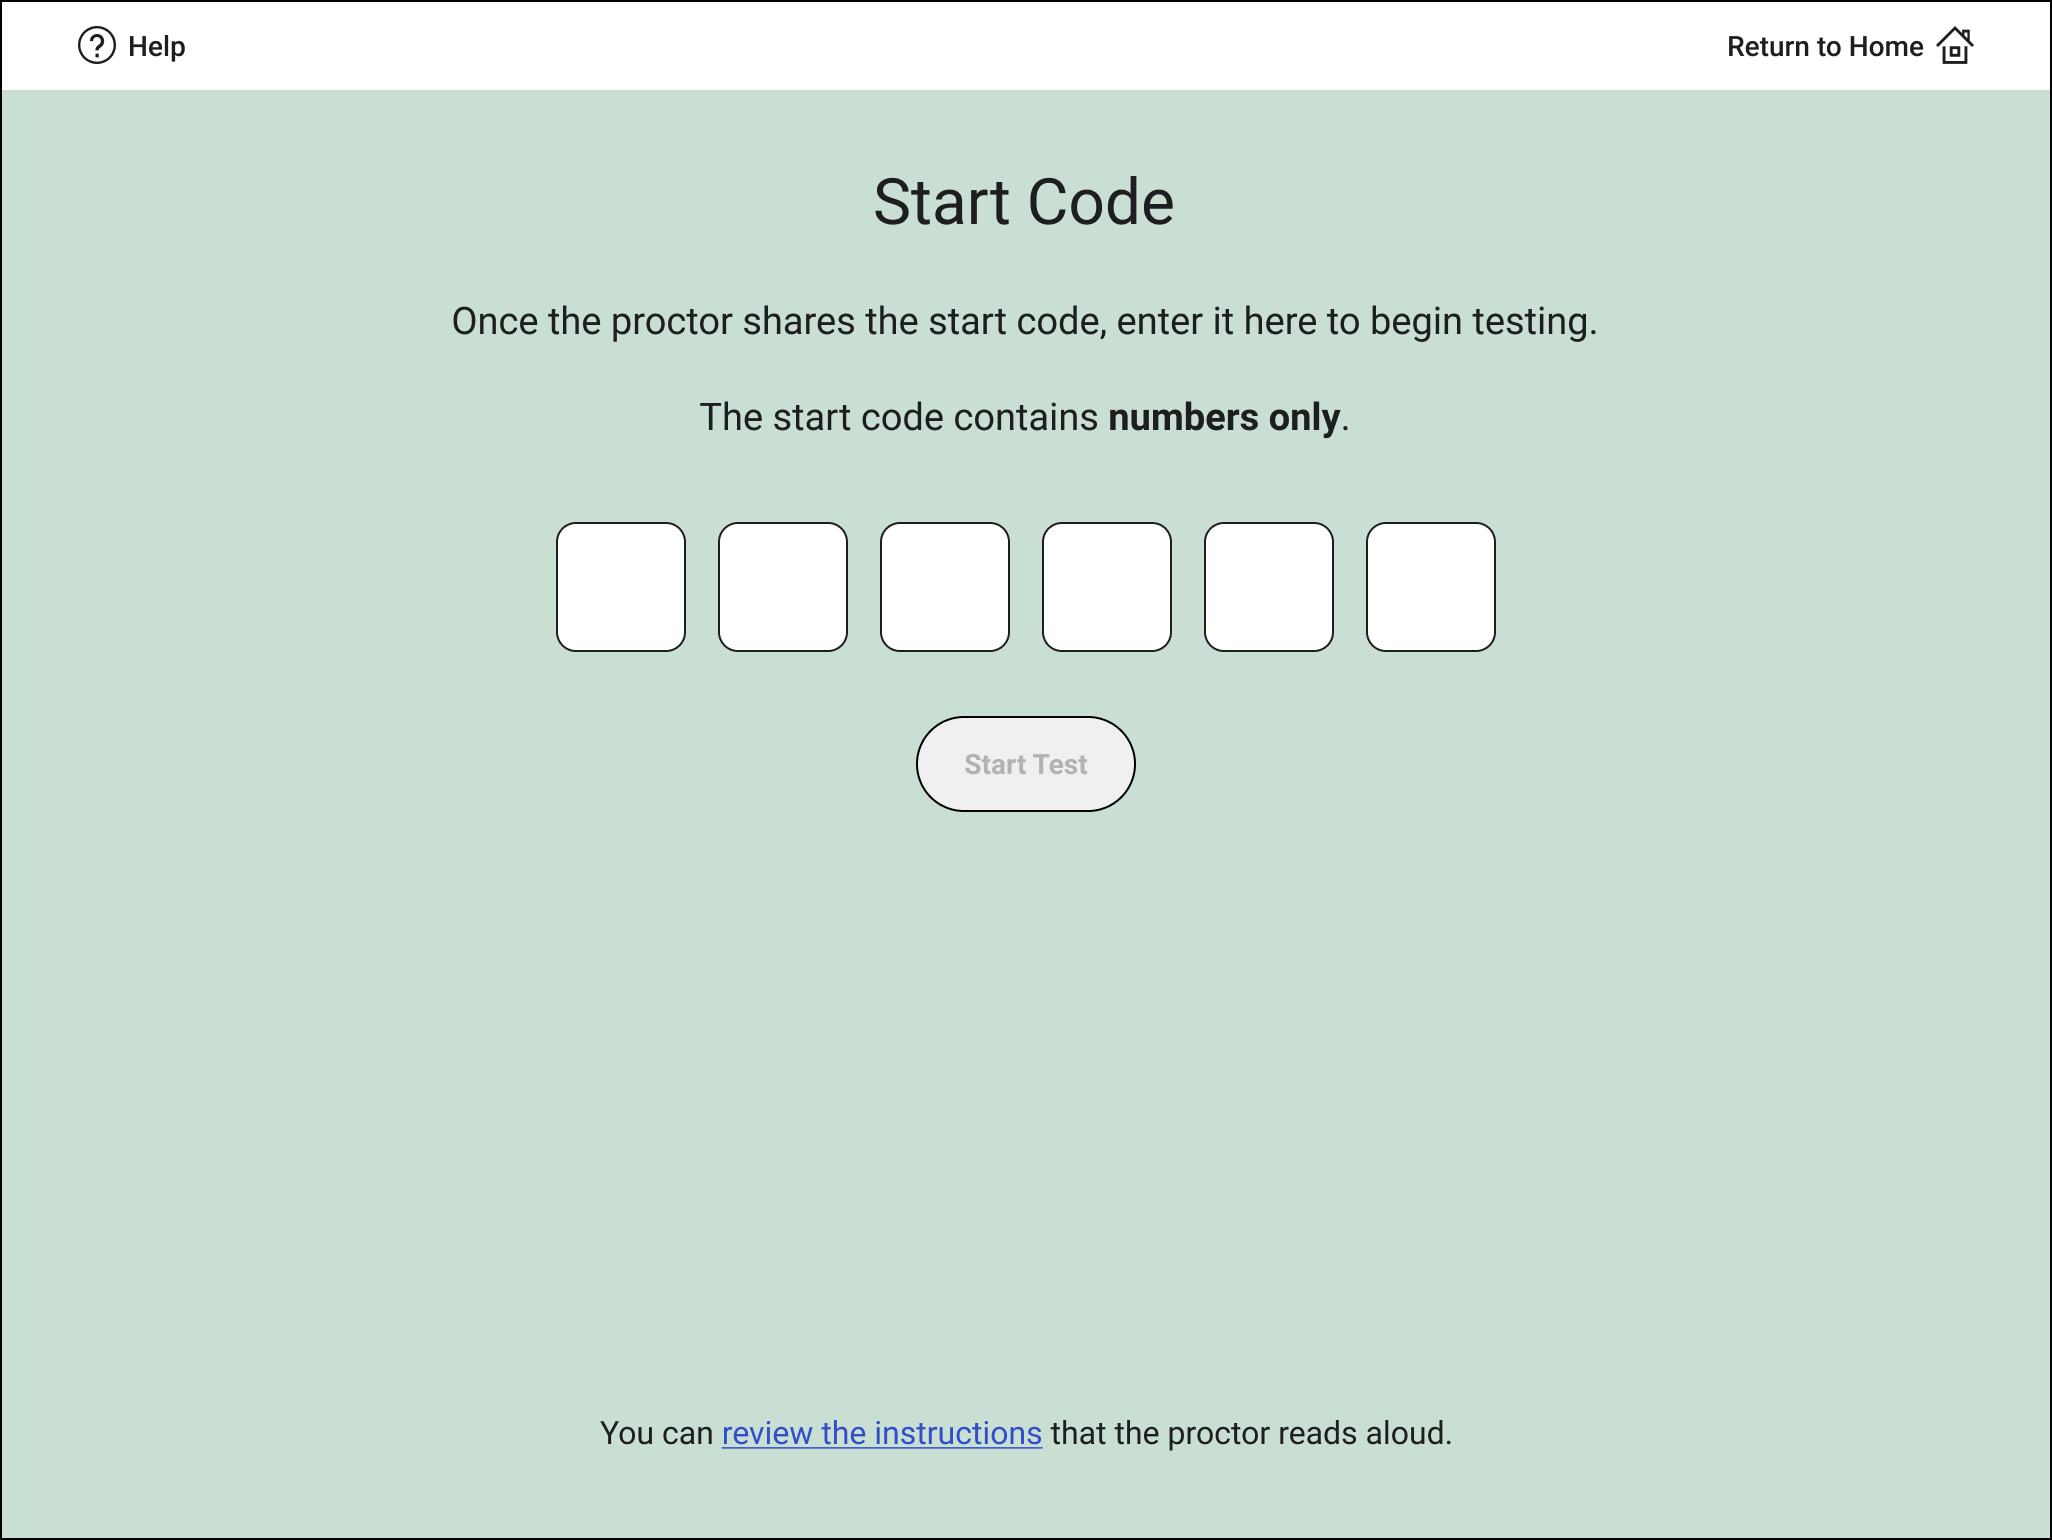
- When students finish with check-in, they reach the Enter Start Code screen and wait to hear the script.
- Proctors see the students' names in the Ready to Test list on the Attendance screen.
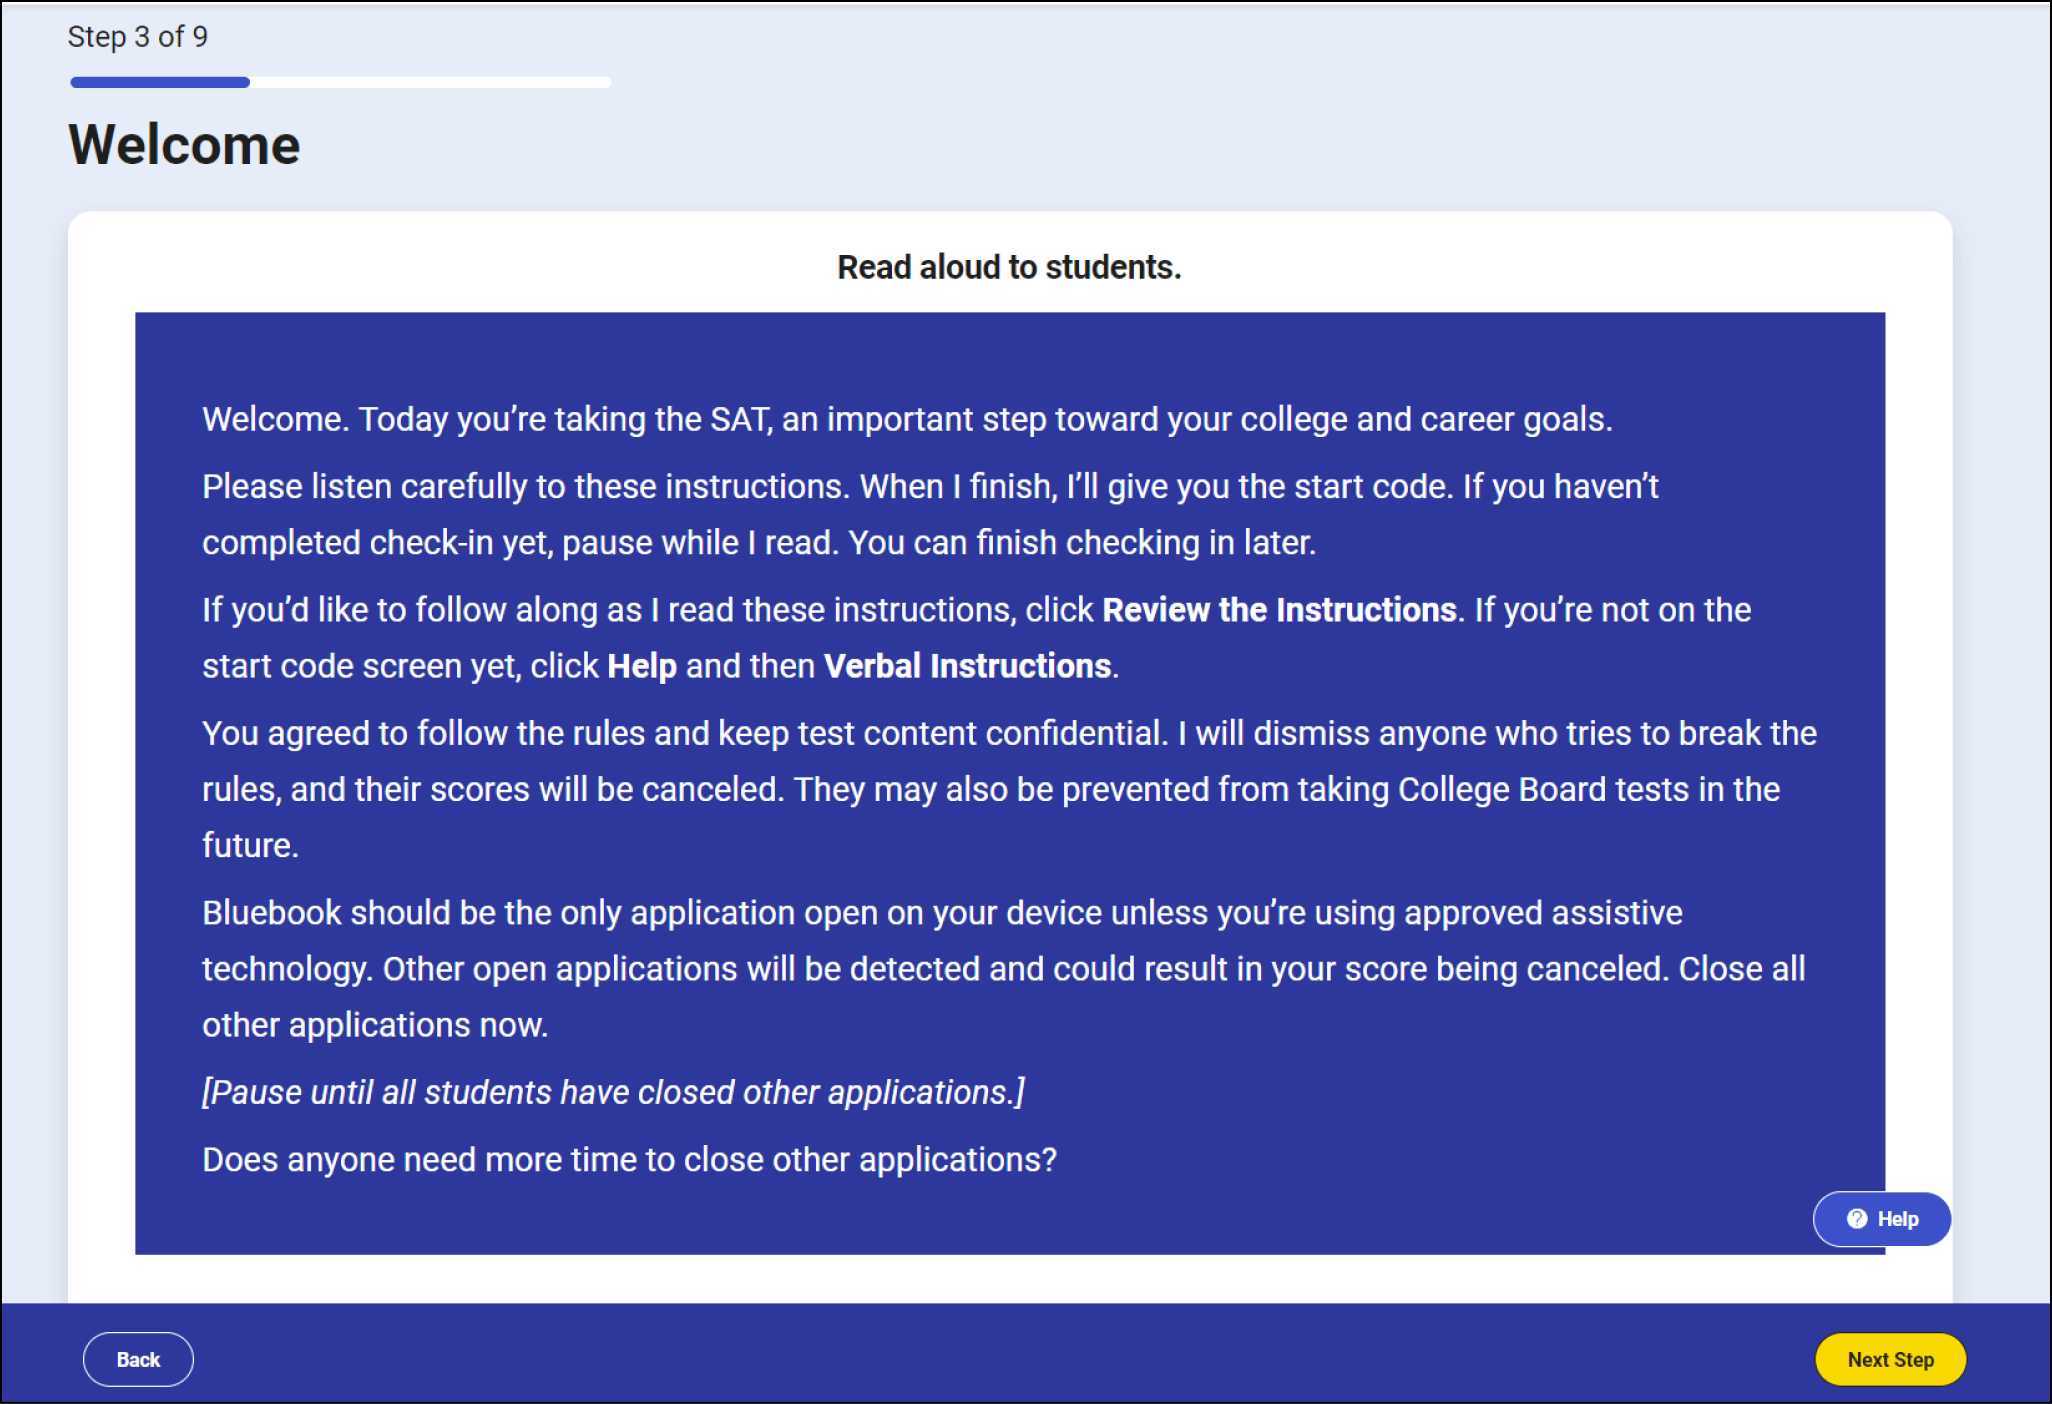
- Proctors read the script.
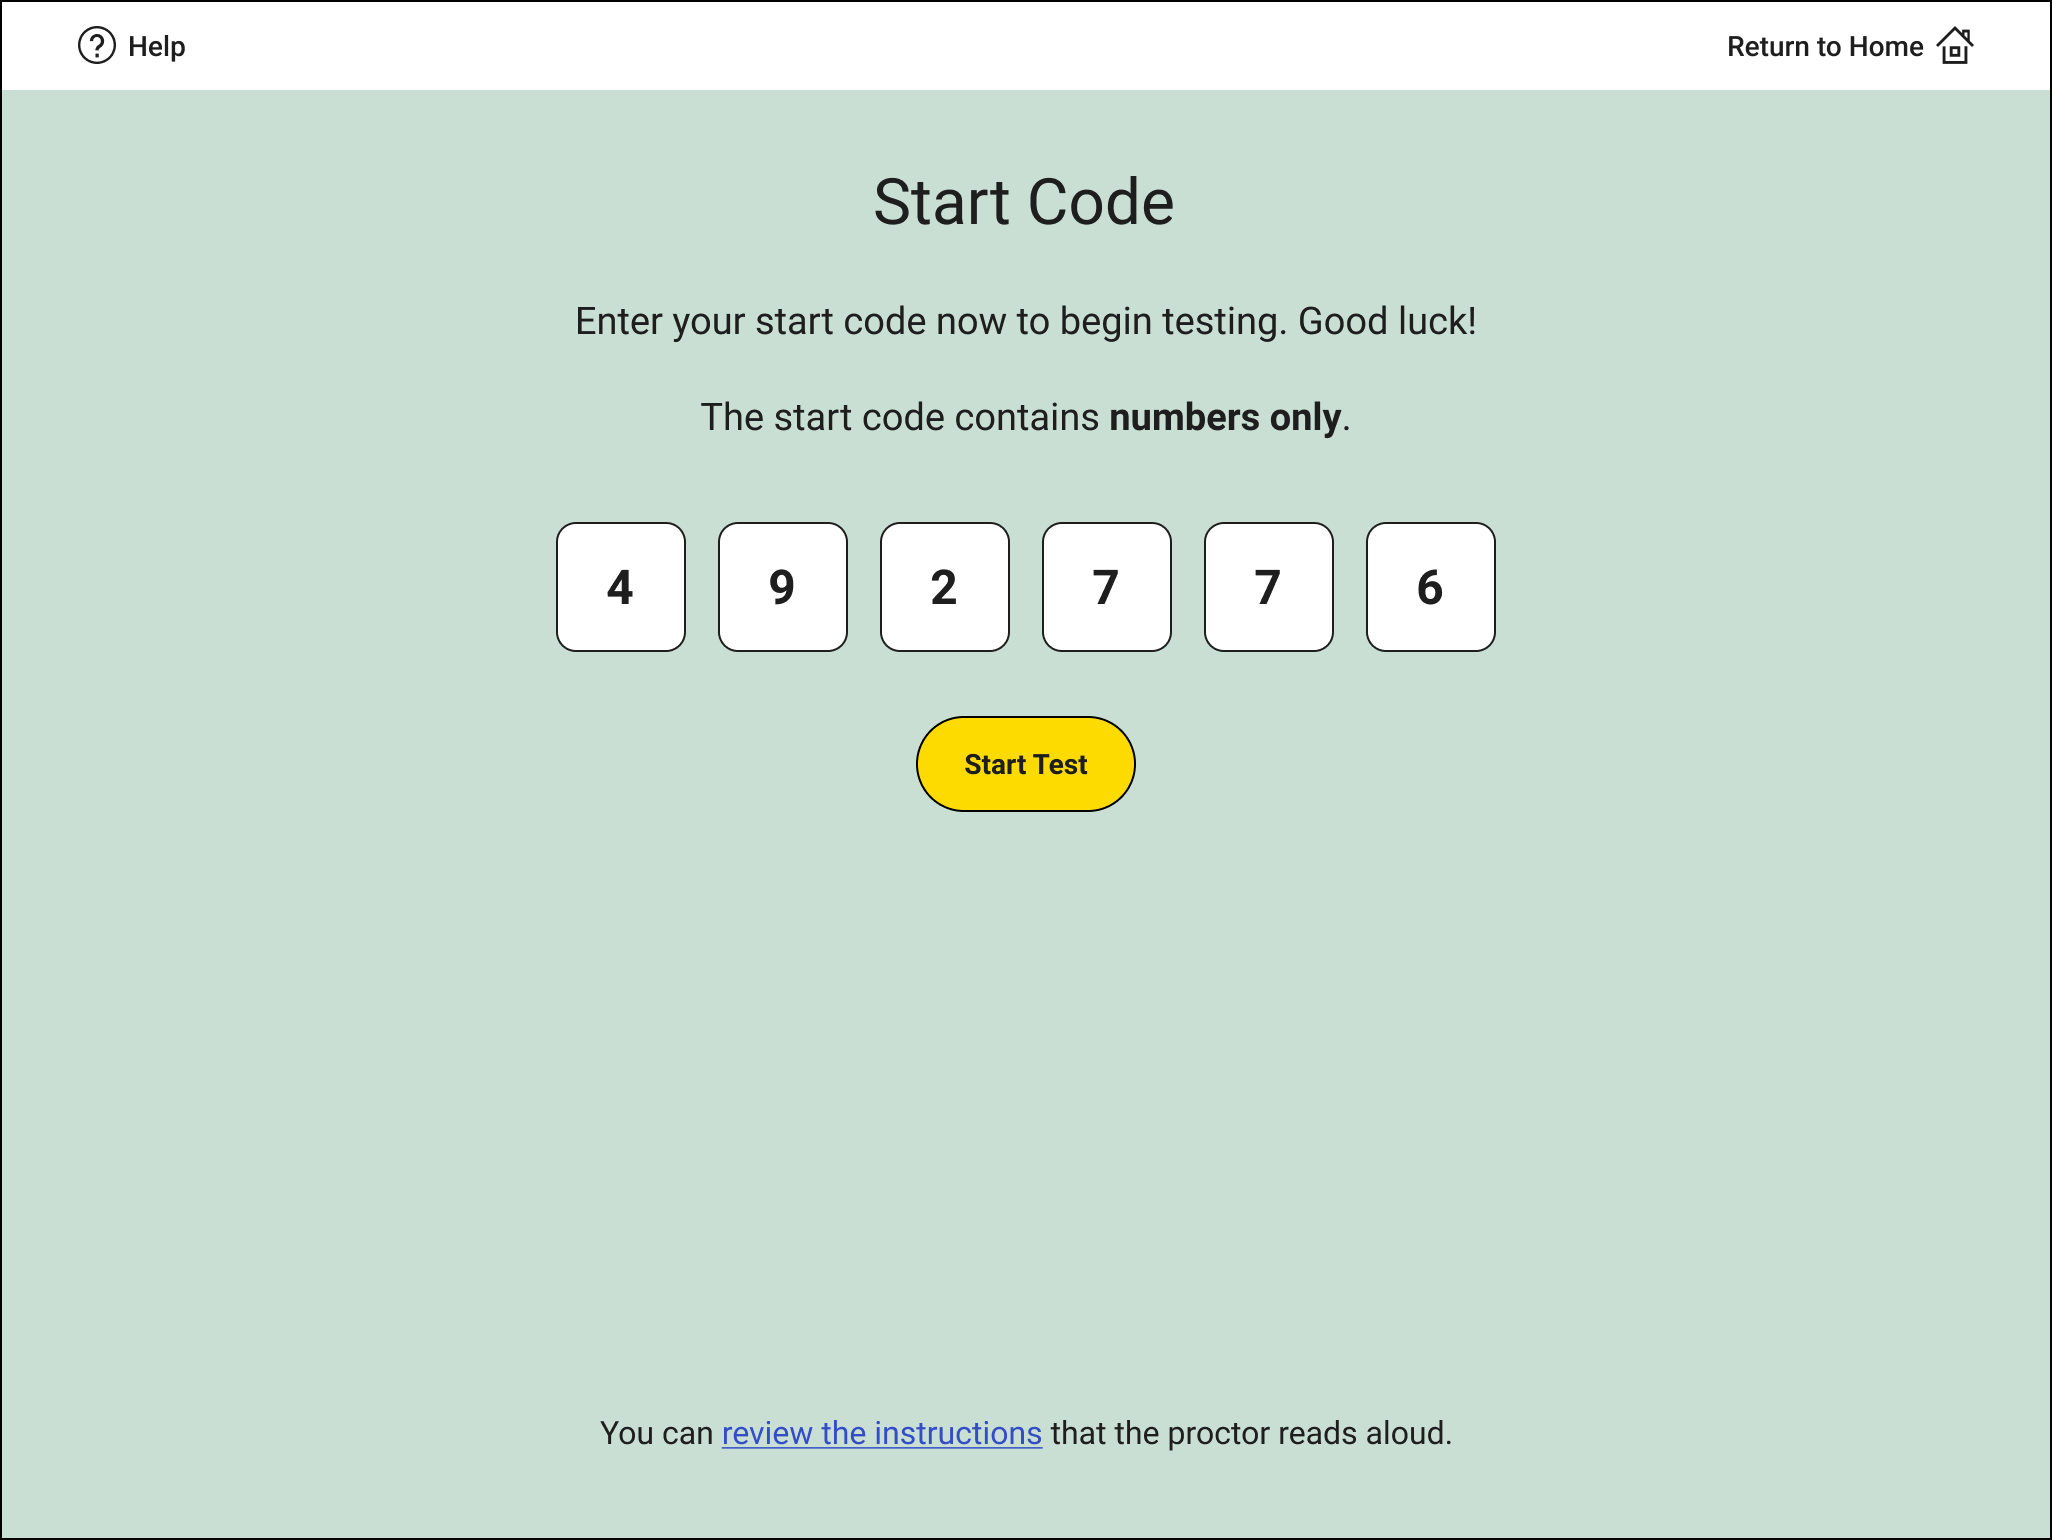
4. Starting the Test
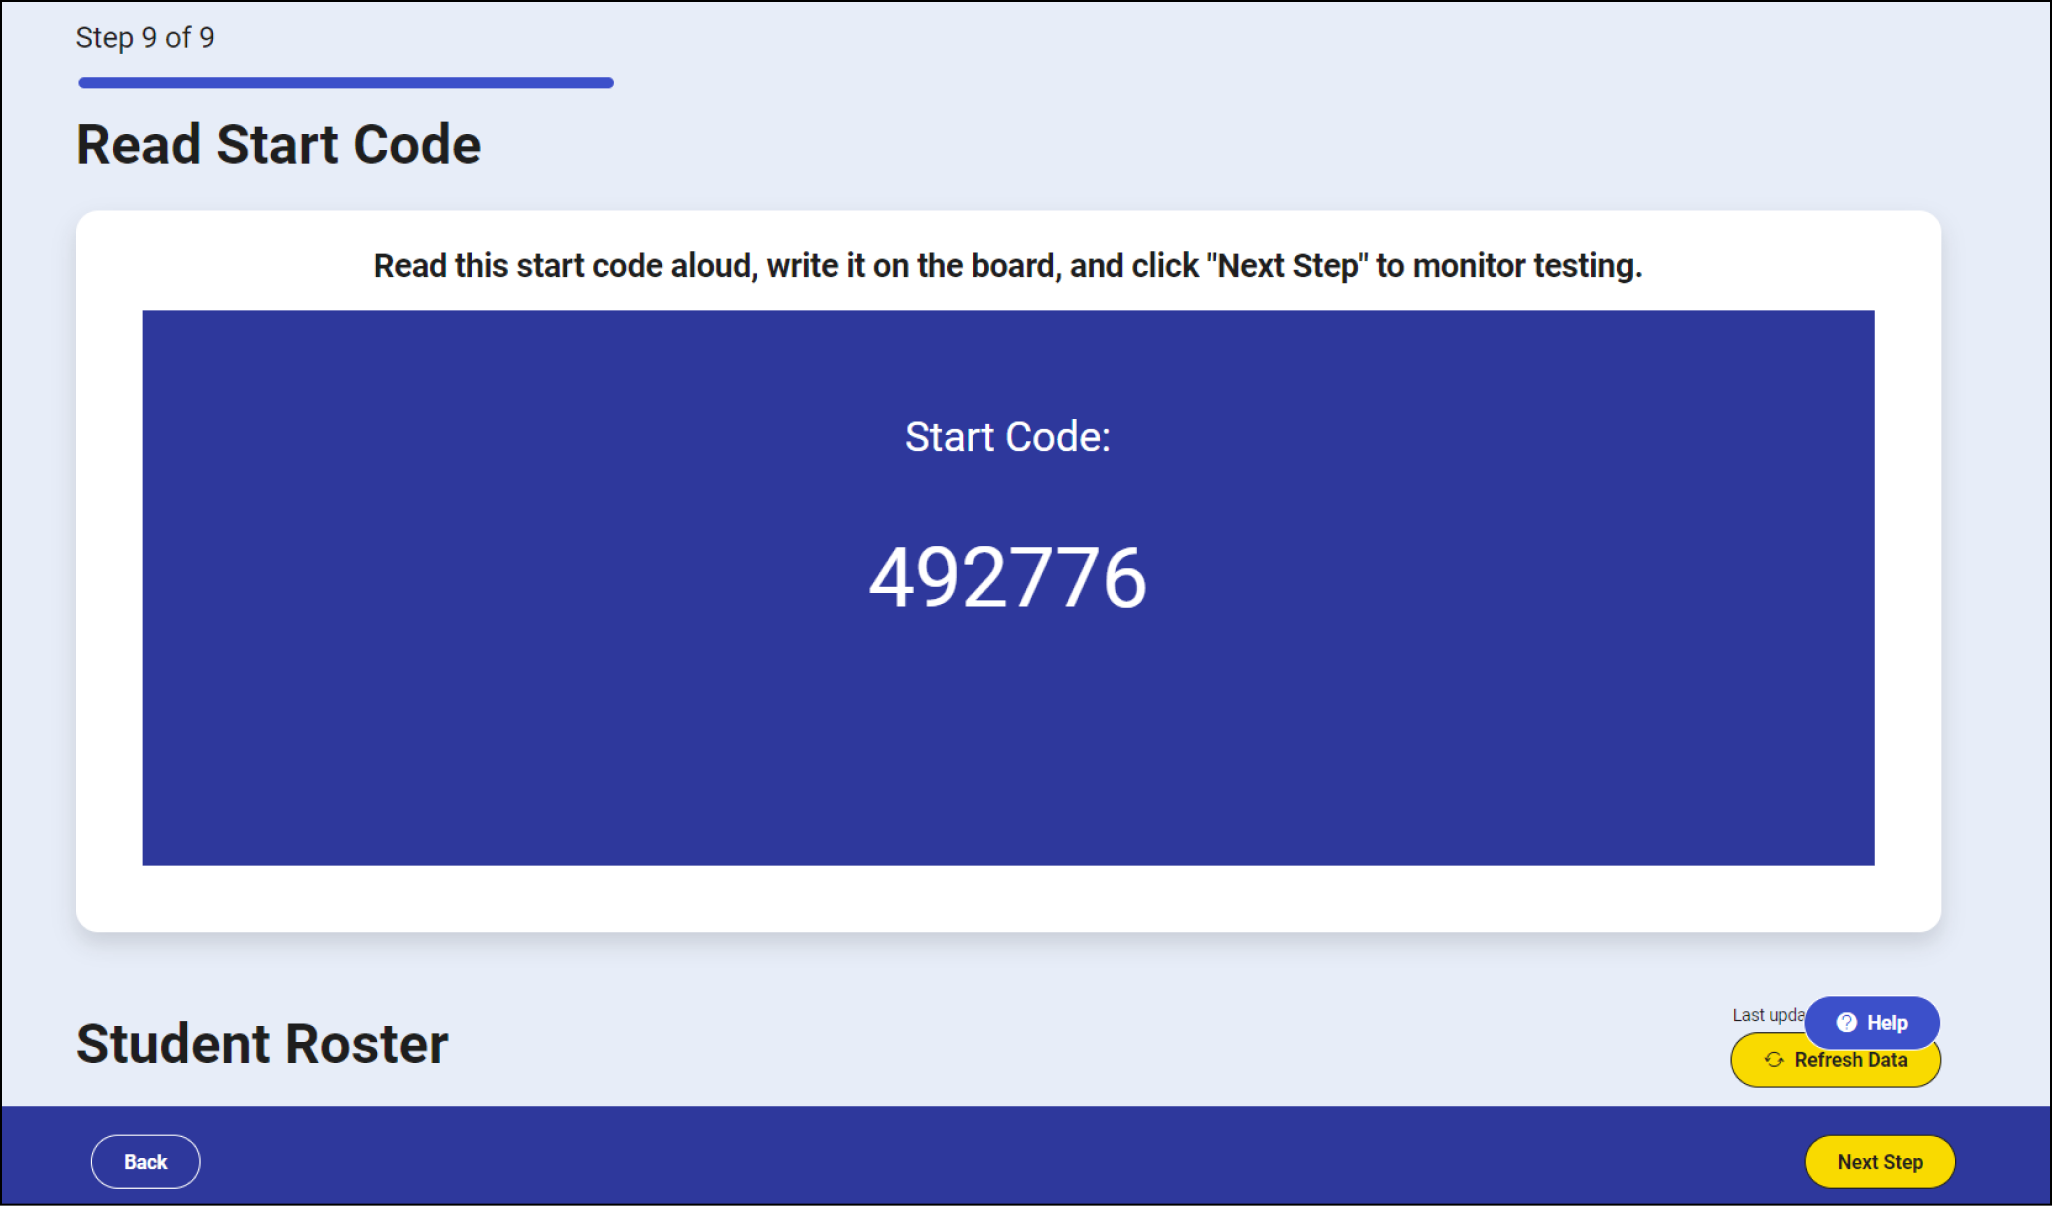
- At the end of the script, proctors read the 6-digit start code aloud and write it on the board.
- Students then enter start code, which starts their test timer.
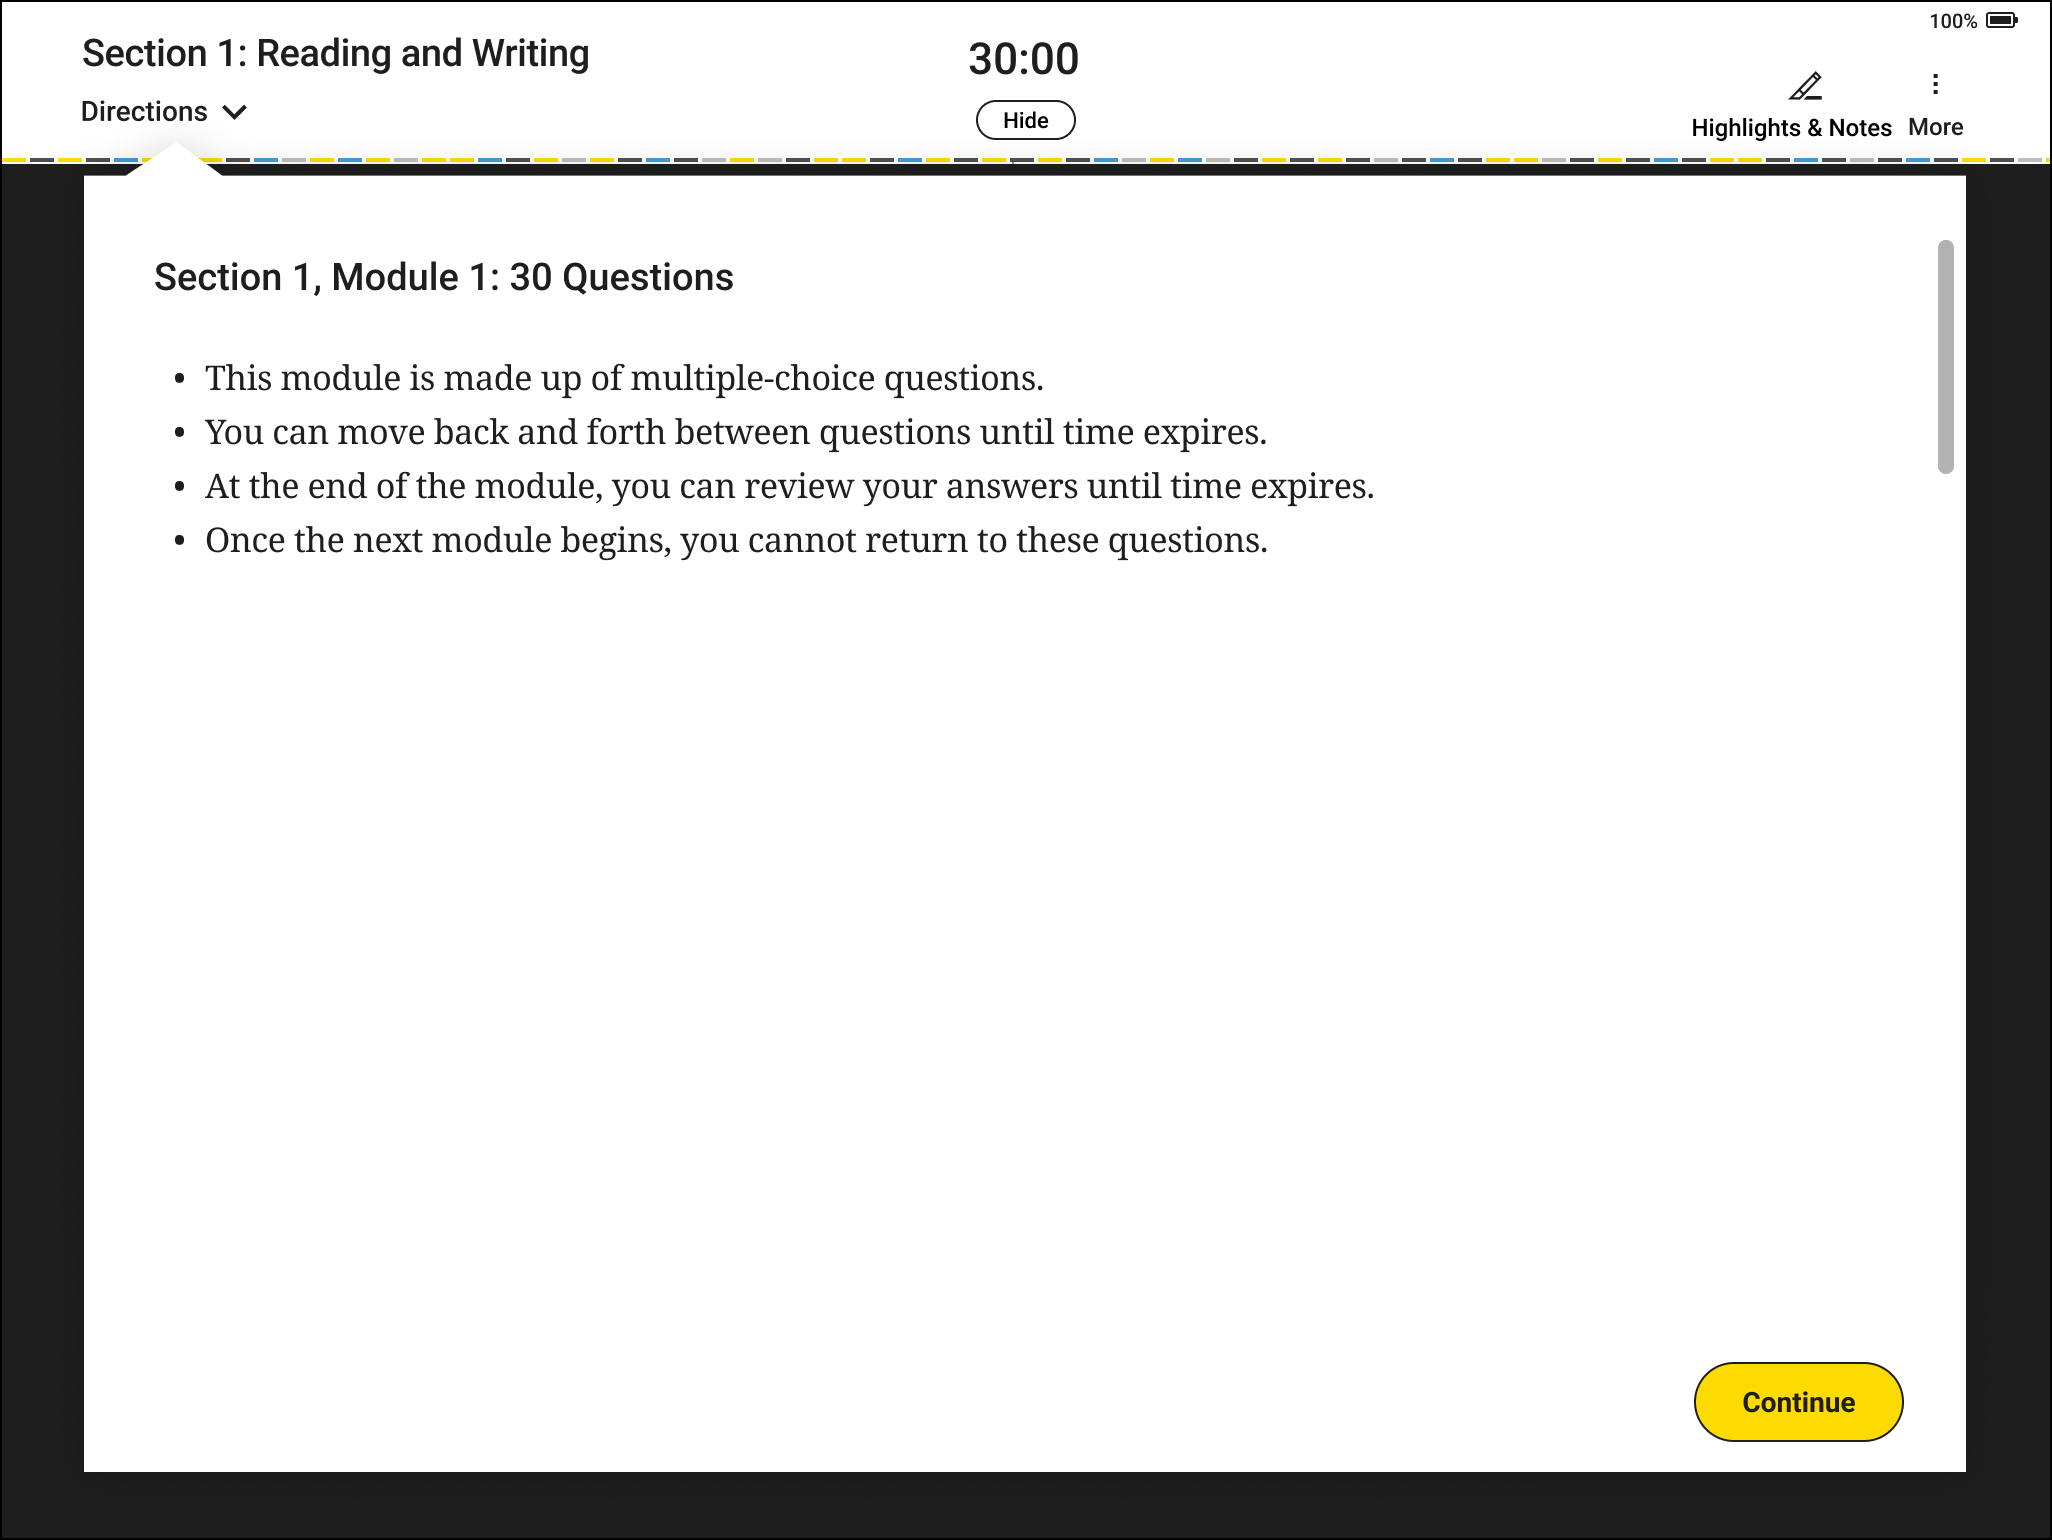
5. Taking the Test
- Students begin testing.
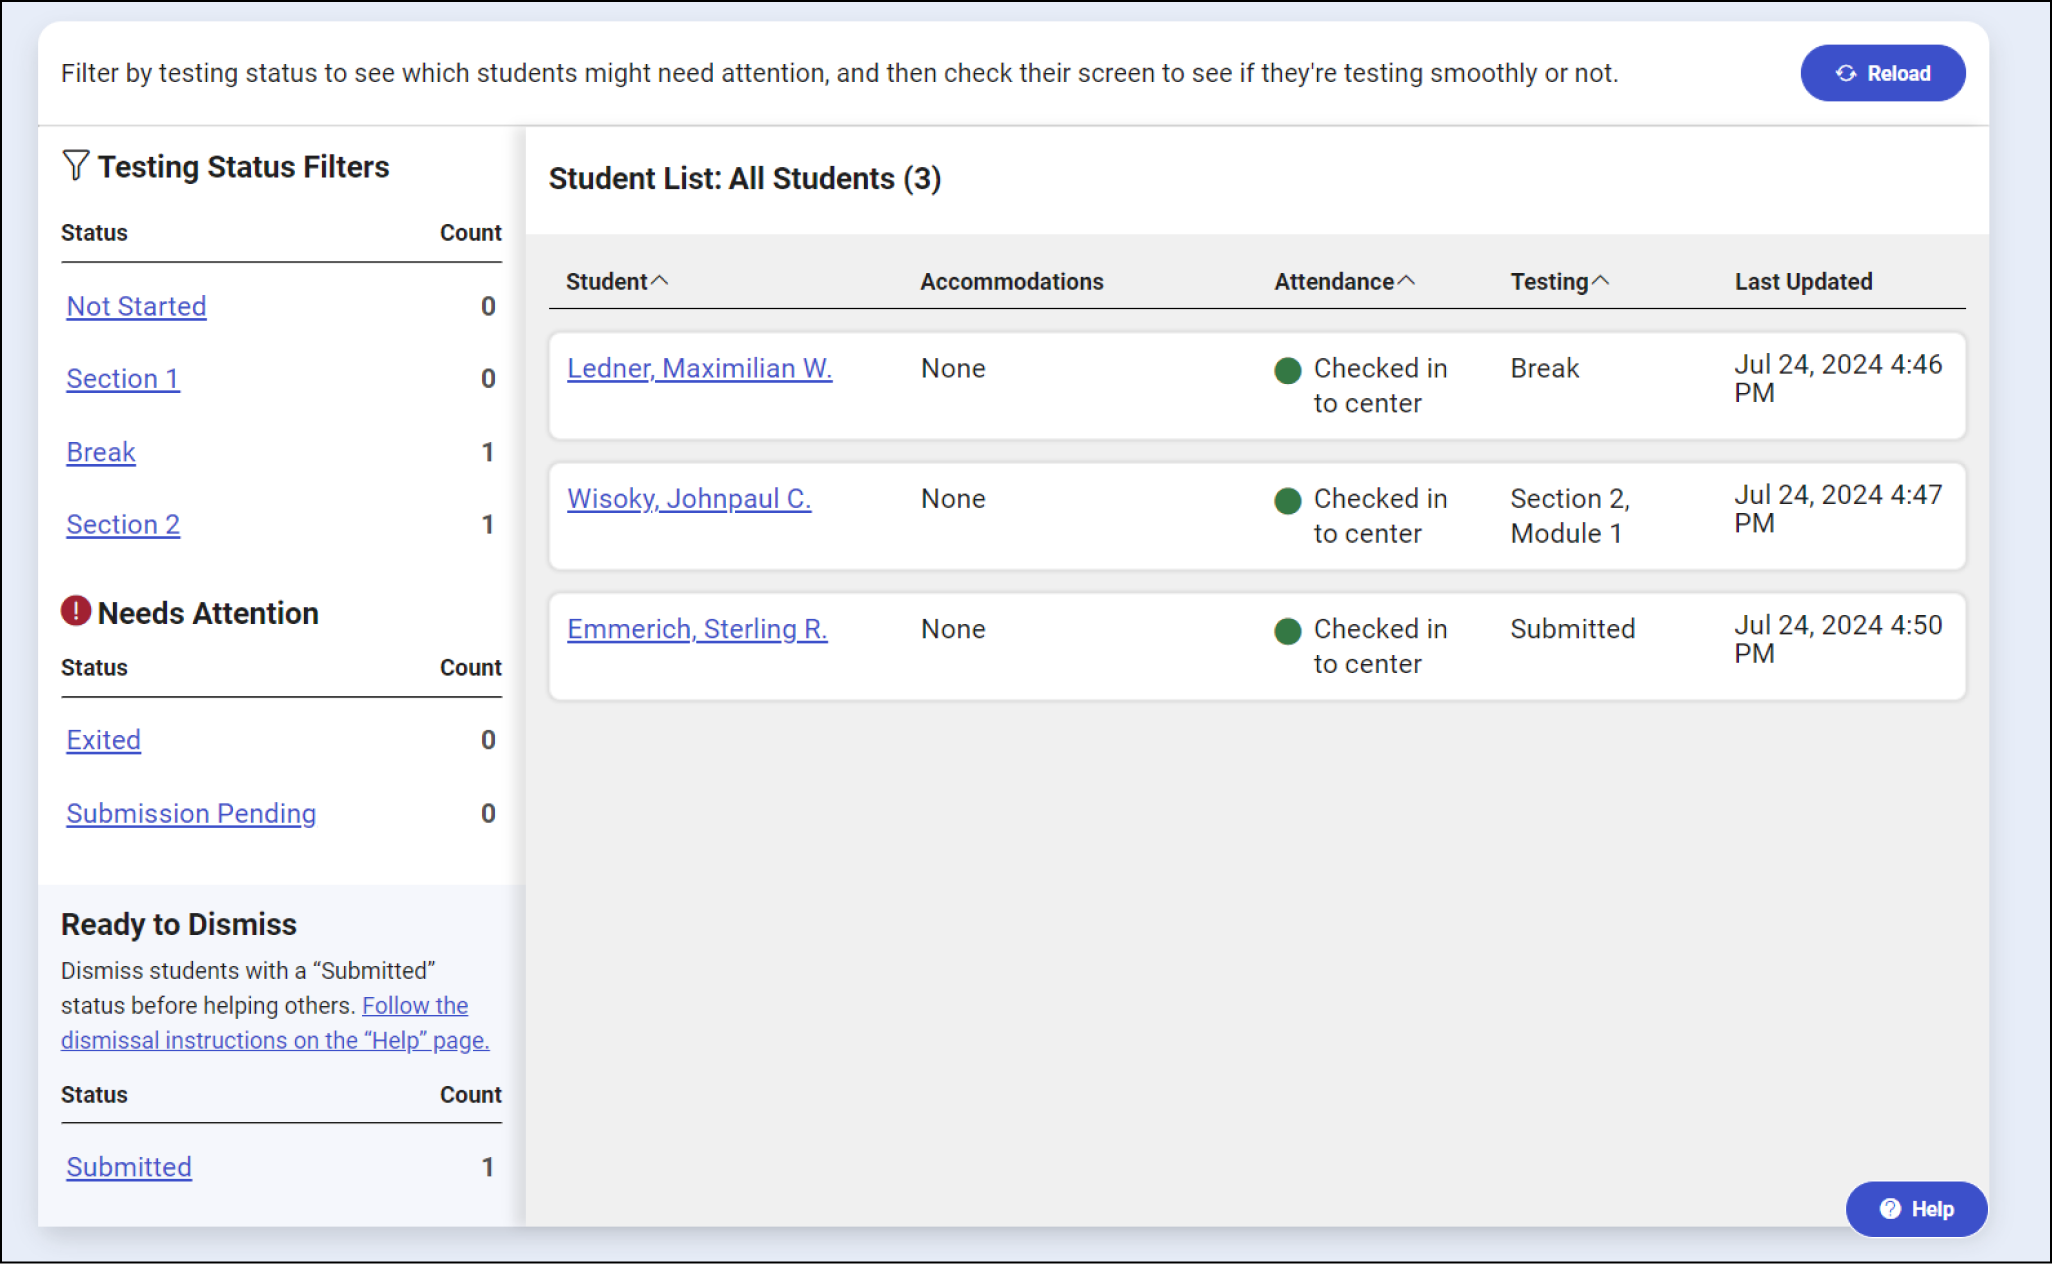
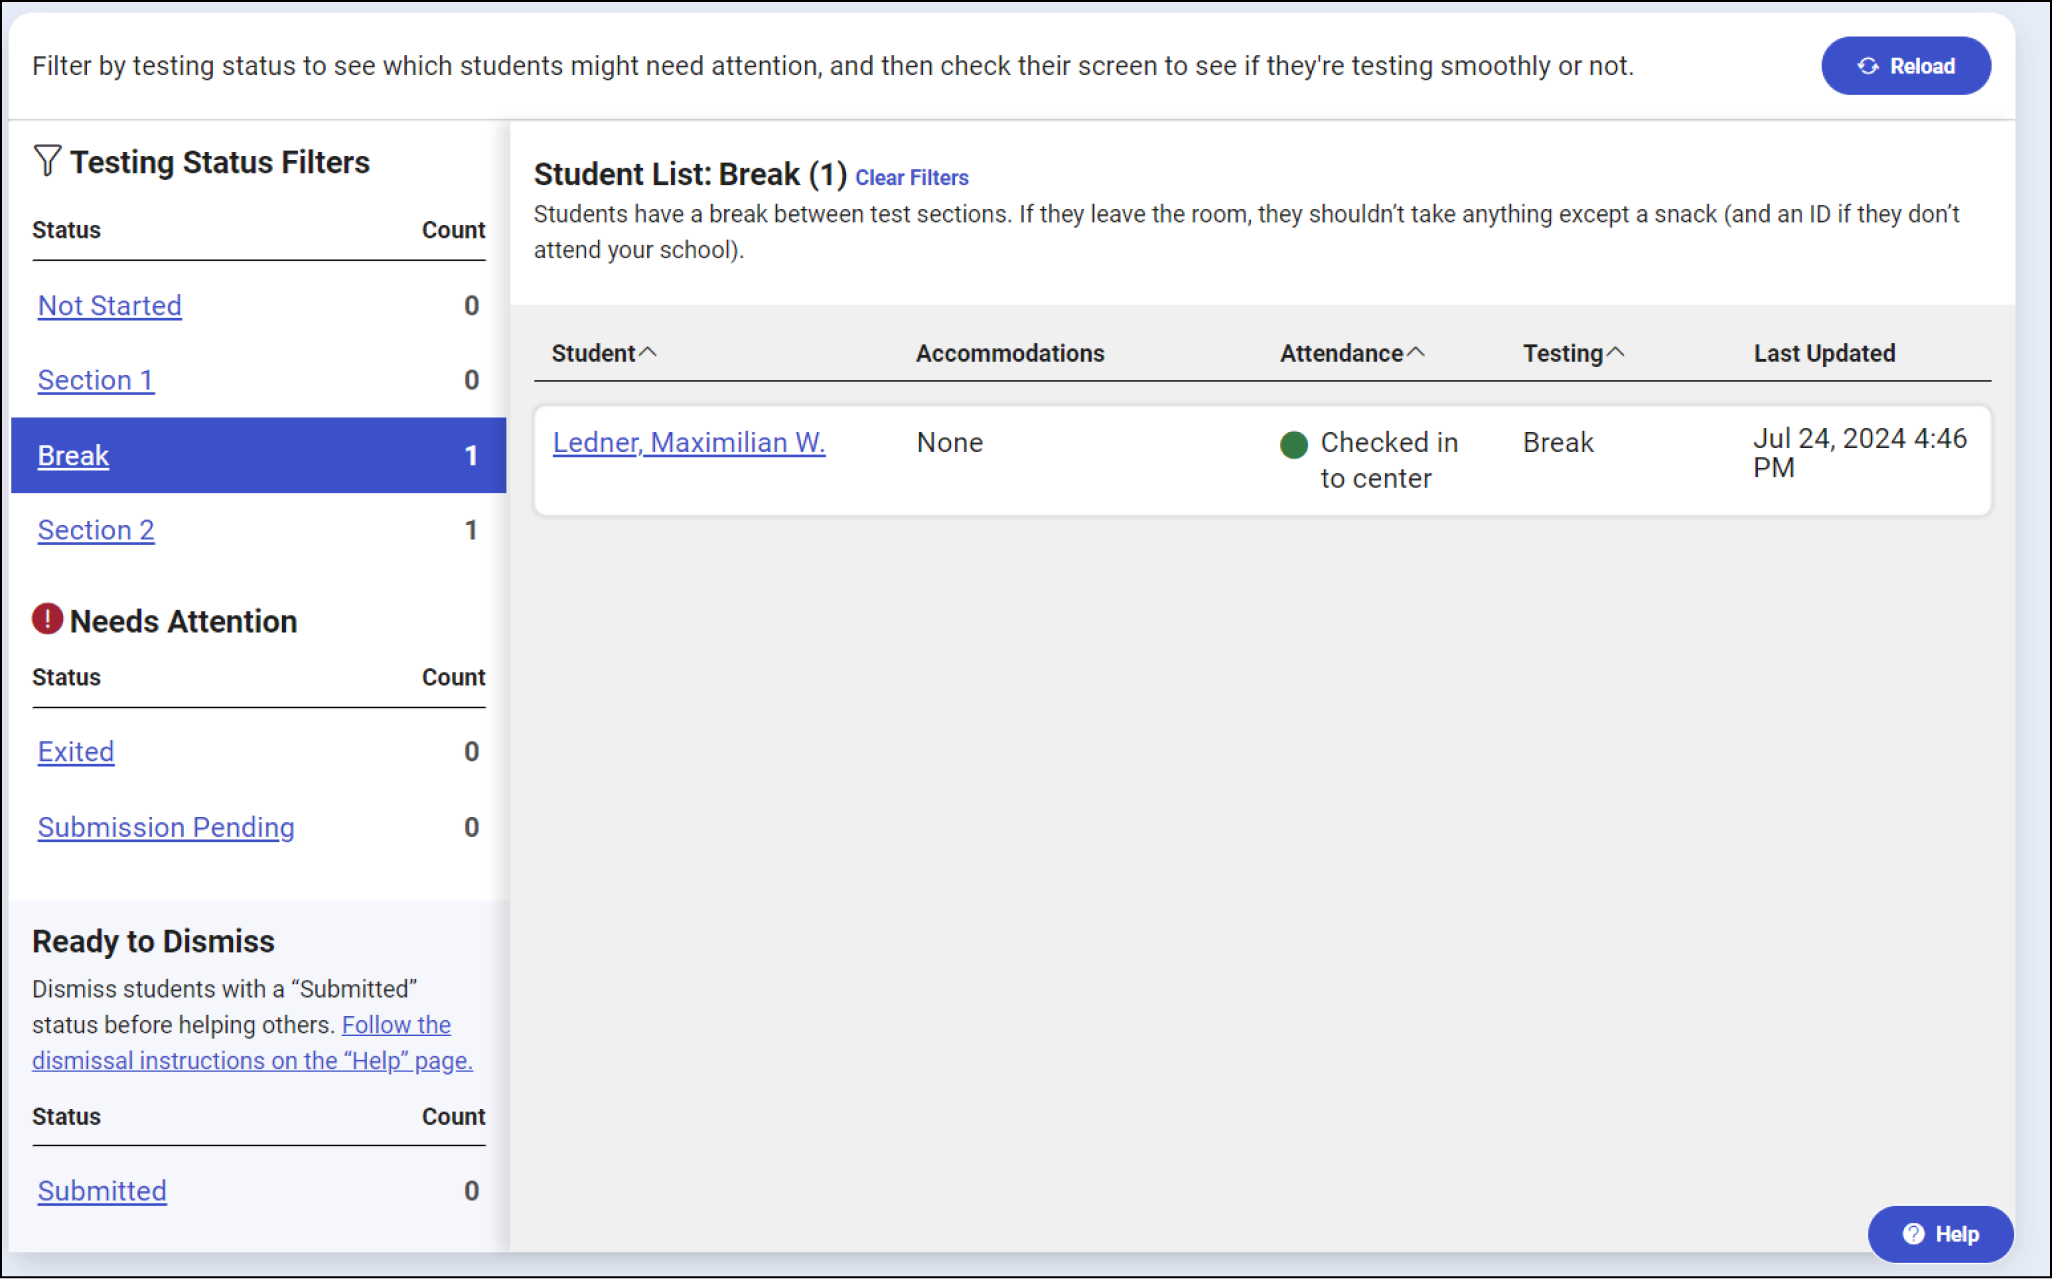
- After they read the start code, proctors click Next Step to go to the monitoring dashboard and use the filters to see which students are in each part of the test.
- Proctors walk around the room every 10–15 minutes to watch for students who aren't actively testing, devices displaying nontest content, suspicious behavior, or raised hands. A student with their hand raised may need your help to resume testing if Bluebook crashed on their device or they tried to exit the app. Any time you leave your desk, bring your device with Test Day Toolkit (tablet, phone, or laptop) with you so that you can resolve these issues efficiently.
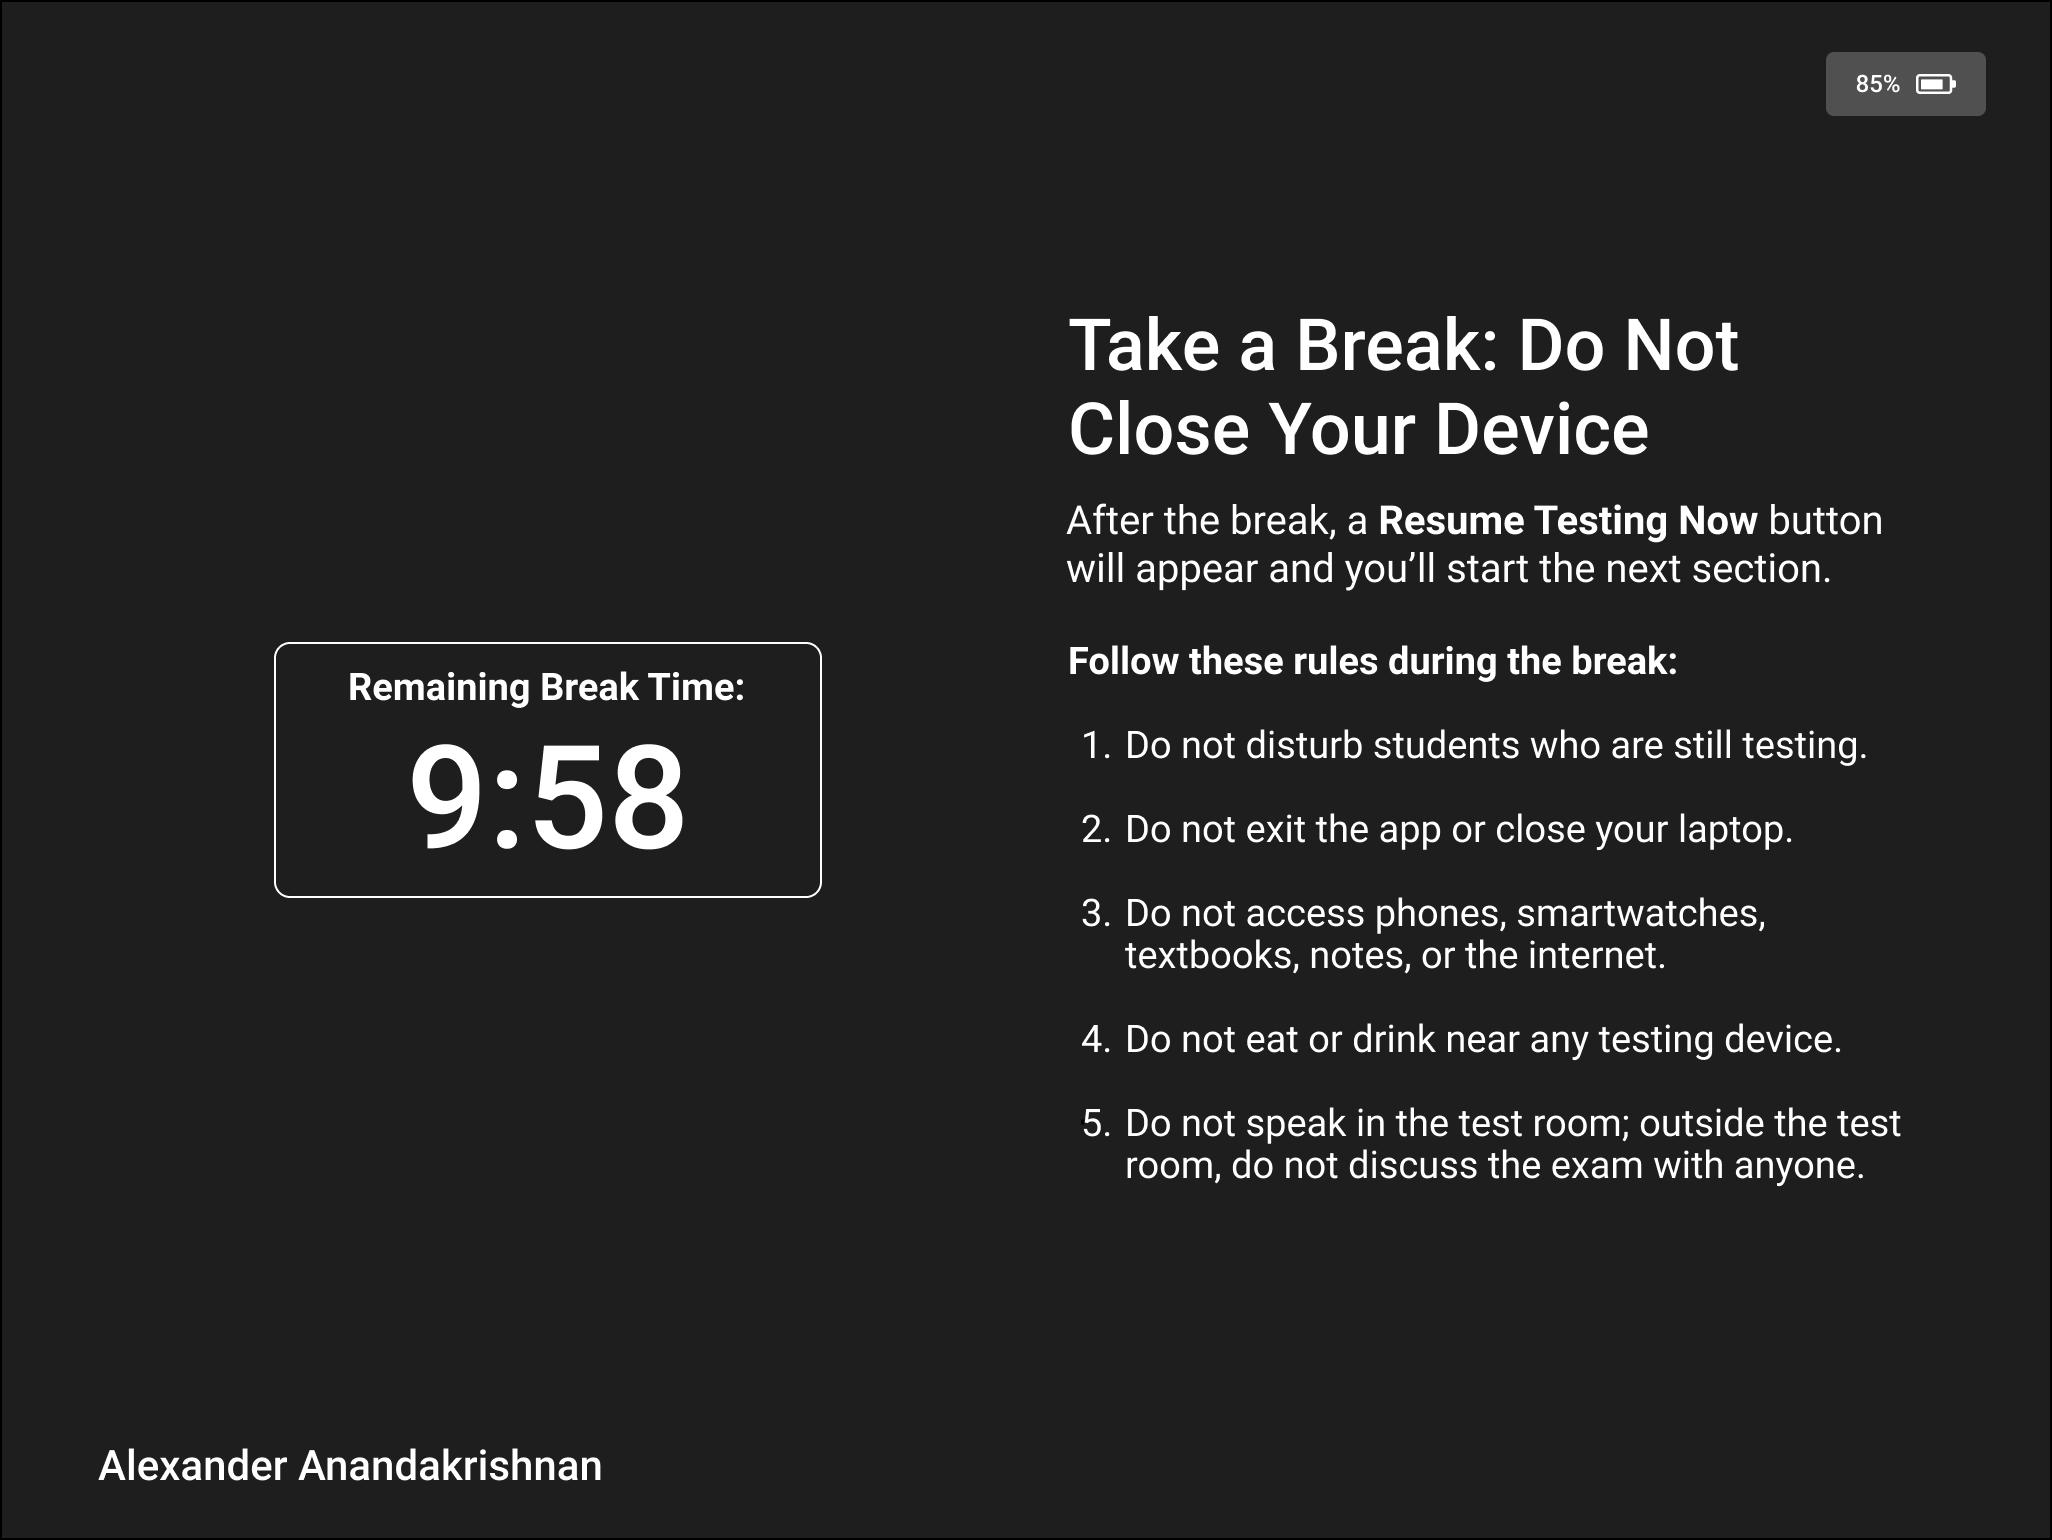
6. The Break
- Students see break instructions in Bluebook when their break time begins. (Students can’t start or end a scheduled break early.)
- Students will click a button to start testing when their break time ends; no proctor action or instruction is needed.
7. Finishing the Test
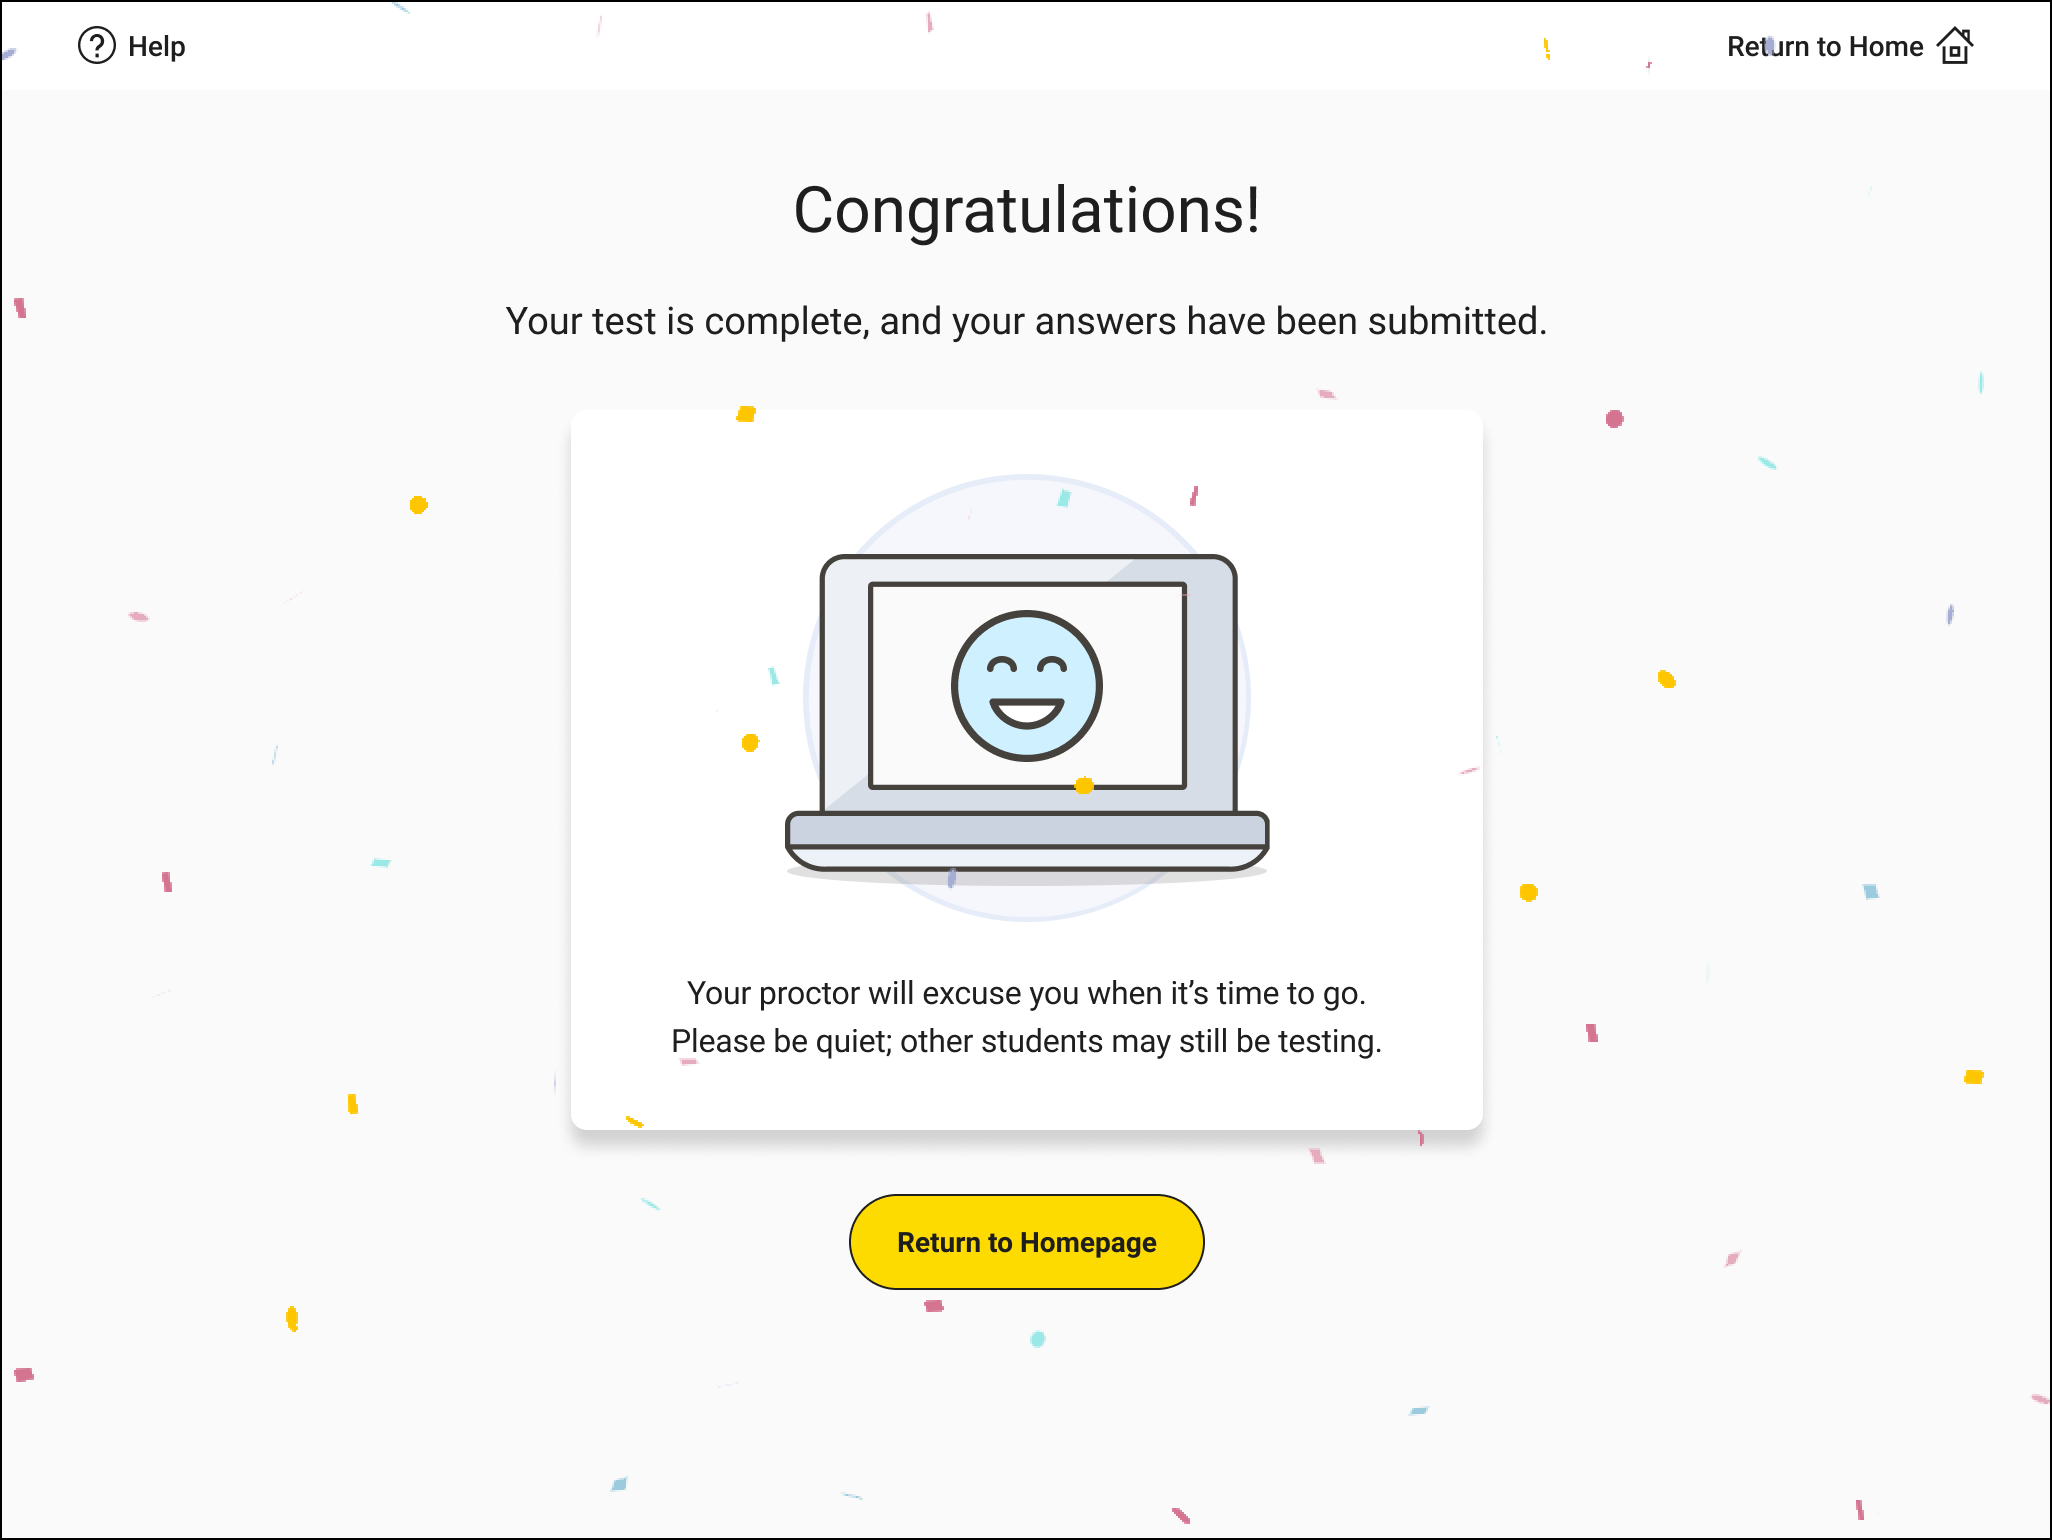
- Students finish the test. If a student is connected to the internet when their time is up, their answers are submitted automatically, and they see the Congratulations screen with confetti.
- Proctors start dismissal when time runs out for all students (unless some are too far behind) and collect scratch paper.
- They use the filters on the monitoring dashboard to verify each student's answers were submitted.
- If answers weren't submitted, proctors follow the troubleshooting instructions in the Proctor Manual.